Continuous Integration
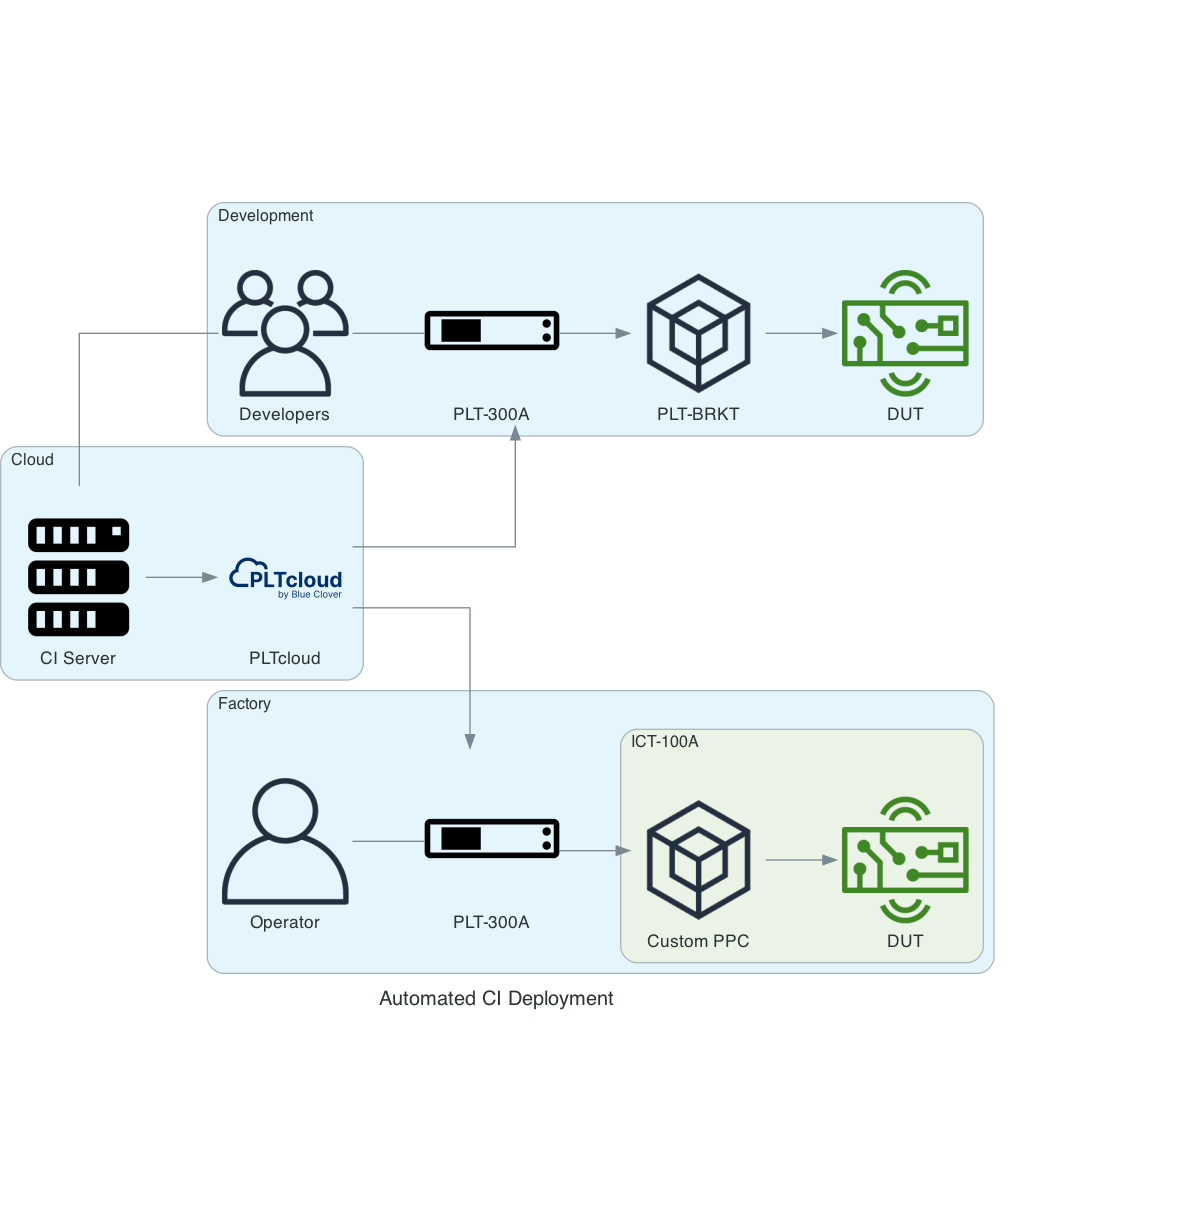
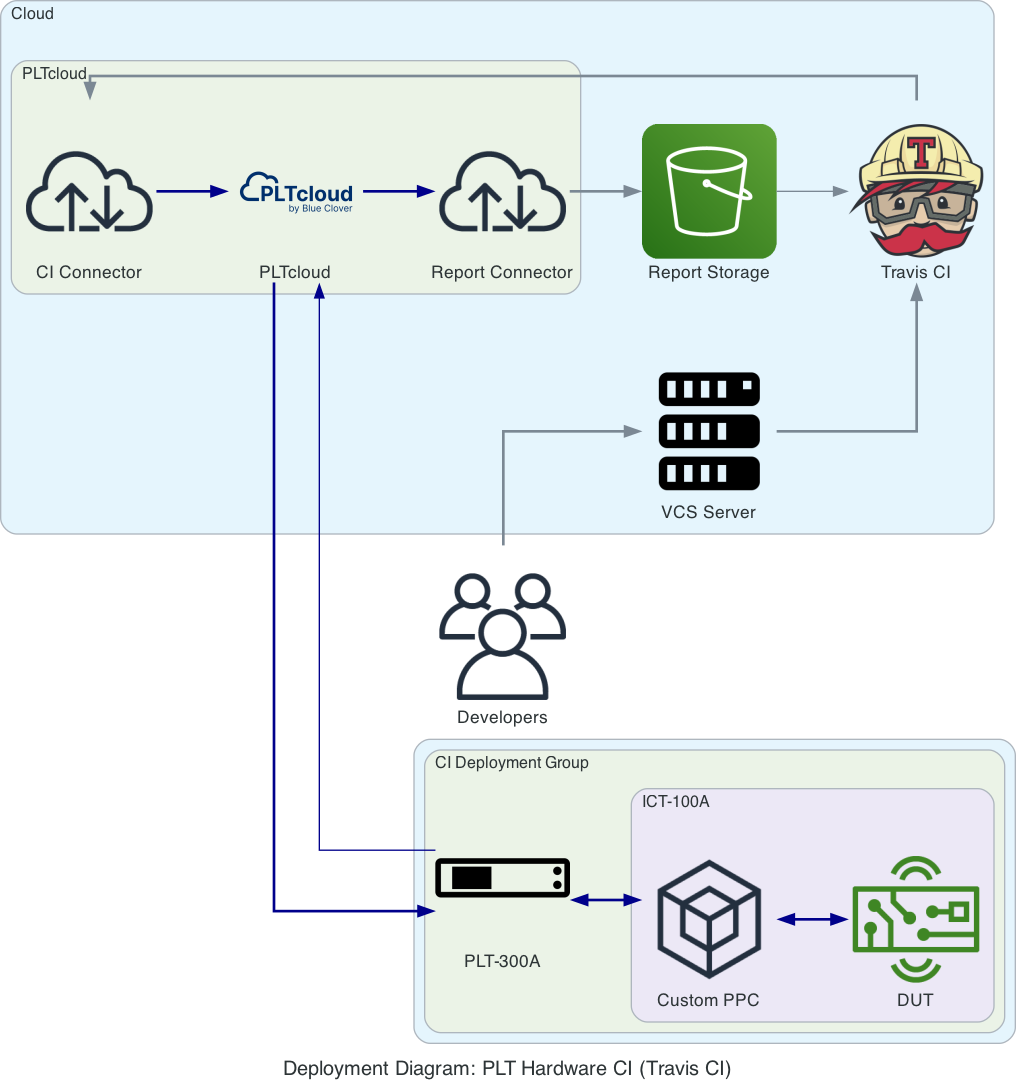
PLTcloud allows for uploading a release utilizing a command line client. This client can be included in a CI pipeline in order to automatically deploy a firmware build to PLTcloud.

Supported Environments
The PLTcloud client is distributed as a Debian package and should
work on Debian and other distributions supporting .deb files.
The PLTcloud CLI has been tested with Travis CI and GitHub Actions.
Other CI tools can be utilized as long as they run a supported OS and support the installation of custom packages.
Usage
pltcloud [OPTIONS...] -t <TOKEN> -v <VERSION> -p <UUID> -f <GLOB>

-t <TOKEN>
        PLTcloud API Release Token
-v <VERSION>
        Release version
-p <UUID>
        Project UUID
-f <GLOB>
        Files
-vvv
        Verbose output
Files can be specified with patterns such as:
**/prefix*, grandparent/**/child?, **/parent/*,
or even just ** (which will include all files and directories recursively).
Example: Travis CI integration

Prerequisites
A Travis CI account and Travis CI client
A Git repository containing DUT firmware image and test plans
A PLTcloud organization, user and project
Step 1: Validate Travis CI build
In order to upload a release, the PLT test plan, and any associated assets such as DUT firmware must be available in a directory.
The existing build should create all the necessary files for a release
in the install or script life cycle.
For example:
.travis.ymlsudo: required
language: c
script:
- make dist
Step 2: Add section to install PLTcloud CLI
Add a before_deploy: section to .travis.yml in order to install the CLI tool.
before_deploy:
- sudo apt-get update
- sudo apt-get install -y musl
- wget https://download.pltcloud.com/cli/pltcloud_0.6.1_amd64.deb
- sudo dpkg -i pltcloud_0.6.1_amd64.deb
Step 3: Configure Project and Token environment variables
Log in to PLTcloud and select the Project menu item from the project drop-down in the top banner.
Copy the
UUIDfrom the Project Details and as an environment variable in.travis.ymlFor example:
env:
  global:
    PROJECT_UUID=672124b6-9894-11e5-be38-001d42e813fe
Select API Tokens from the drop-down menu under the user menu.
Select Add Release Token, login and copy the Release Upload Token
Encrypt the token and add it to
.travis.ymlwith the commandtravis encrypt API_TOKEN=*************** --add
Step 4: Add deployment
Add deployment section to
.travis.ymldeploy: - provider: script skip_cleanup: true script: pltcloud -t "$API_TOKEN" -f "dist/*" -v "$TRAVIS_TAG" -p "$PROJECT_UUID" on: all_branches: true tags: true
Example: GitHub Actions
Prerequisites
A GitHub account and repository containing DUT firmware image and test plans
Access to GitHub Actions
A PLTcloud organization, user and project
Step 1: Validate firmware build and test plans
In order to upload a release, the PLT test plan, and any associated assets such as DUT firmware must be available in a directory.
Setup a GitHub Action workflow to build the firmware and copy test plans to a known directory.
For example, the Zephyr Action
in the
Zephyr firmware for demo board project
is used to build the firmware files and copy the test suites to a
dist/ directory.
Step 2: Configure project and token secrets
Log in to PLTcloud and select the Project menu item from the project drop-down in the top banner.
Copy the
UUIDfrom the Project Details page and a secret namedPROJECT_UUIDin your GitHub project.Select API Tokens from the drop-down menu under the user menu in PLTcloud
Select Add Release Token, login and copy the Release Upload Token
Add the release token to GitHub secrets and name it
API_TOKEN
Step 3: Update the Workflow to deploy to PLTcloud
Add a step in
.github/workflows/main.ymlbeneath step that builds the firmware.- uses: bcdevices/pltcloud-action@v1.2.1 if: contains(github.ref, 'tags') with: API_TOKEN: ${{ secrets.API_TOKEN }} PROJECT_UUID: ${{ secrets.PROJECT_UUID }} FILES: "./dist/*demo*" VERSION: ${{ github.ref }}
See also