Nordic nRF52840-Dongle
Vendor: Nordic Semiconductor
Preparation
The nRF52840-DONGLE board needs to be programmed with with a BLE HCI USB H4 firmware image, allowing the dongle to be used for BLE Testing with the PLT-300A.
The nRF52840-DONGLE board supports the following programming options:
SWD
Using the factory-default nRF5 SDK bootloader
Using MCUboot in serial recovery mode
See also
bootloader programming
These instructions describe programming using the nRF52 SDK bootloader, which the nRF52840-Dongle ships with from the factory.
For other methods, please refer to nRF52840 Dongle
These instructions cover two ways to program the device:
Using Nordic nRF Connect for Desktop to program the
hci_usb_h4-nrf52840dongle-3.5.0-dfu.zipfile.Using nrfutil to program the
hci_usb_h4-nrf52840dongle-3.5.0.hexfile.
In both cases, you will first need to put the nRF52840-Dongle Board into the factory bootloader.
Put the nRF52840-Dongle Board into the Bootloader
Reset the board into the Nordic bootloader by pressing the RESET button.
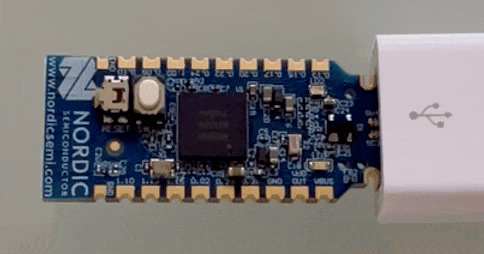
The push button is on the far side of the board from the USB connector. Note that the button does not face up. You will have to push it from the outside in, towards the USB connector:

Location of RESET button and direction of push
The red LED should start a fade pattern, signalling the bootloader is running:
Location of RESET button and direction of push
Note
The nRF52840-Dongle Board ships with only the bootloader installed. If your nRF52840-Dongle is unused, it will already be in the bootloader.
Using Nordic nRF Connect for Desktop
Make sure Nordic nRF Connect for Desktop is installed.
If you haven’t already, follow the directions above to put the nRF52840-Dongle into the factory-default bootloader.
Open Nordic nRF Connect for Desktop, and open the “Programmer” tool from the main window. You may need to install it first.
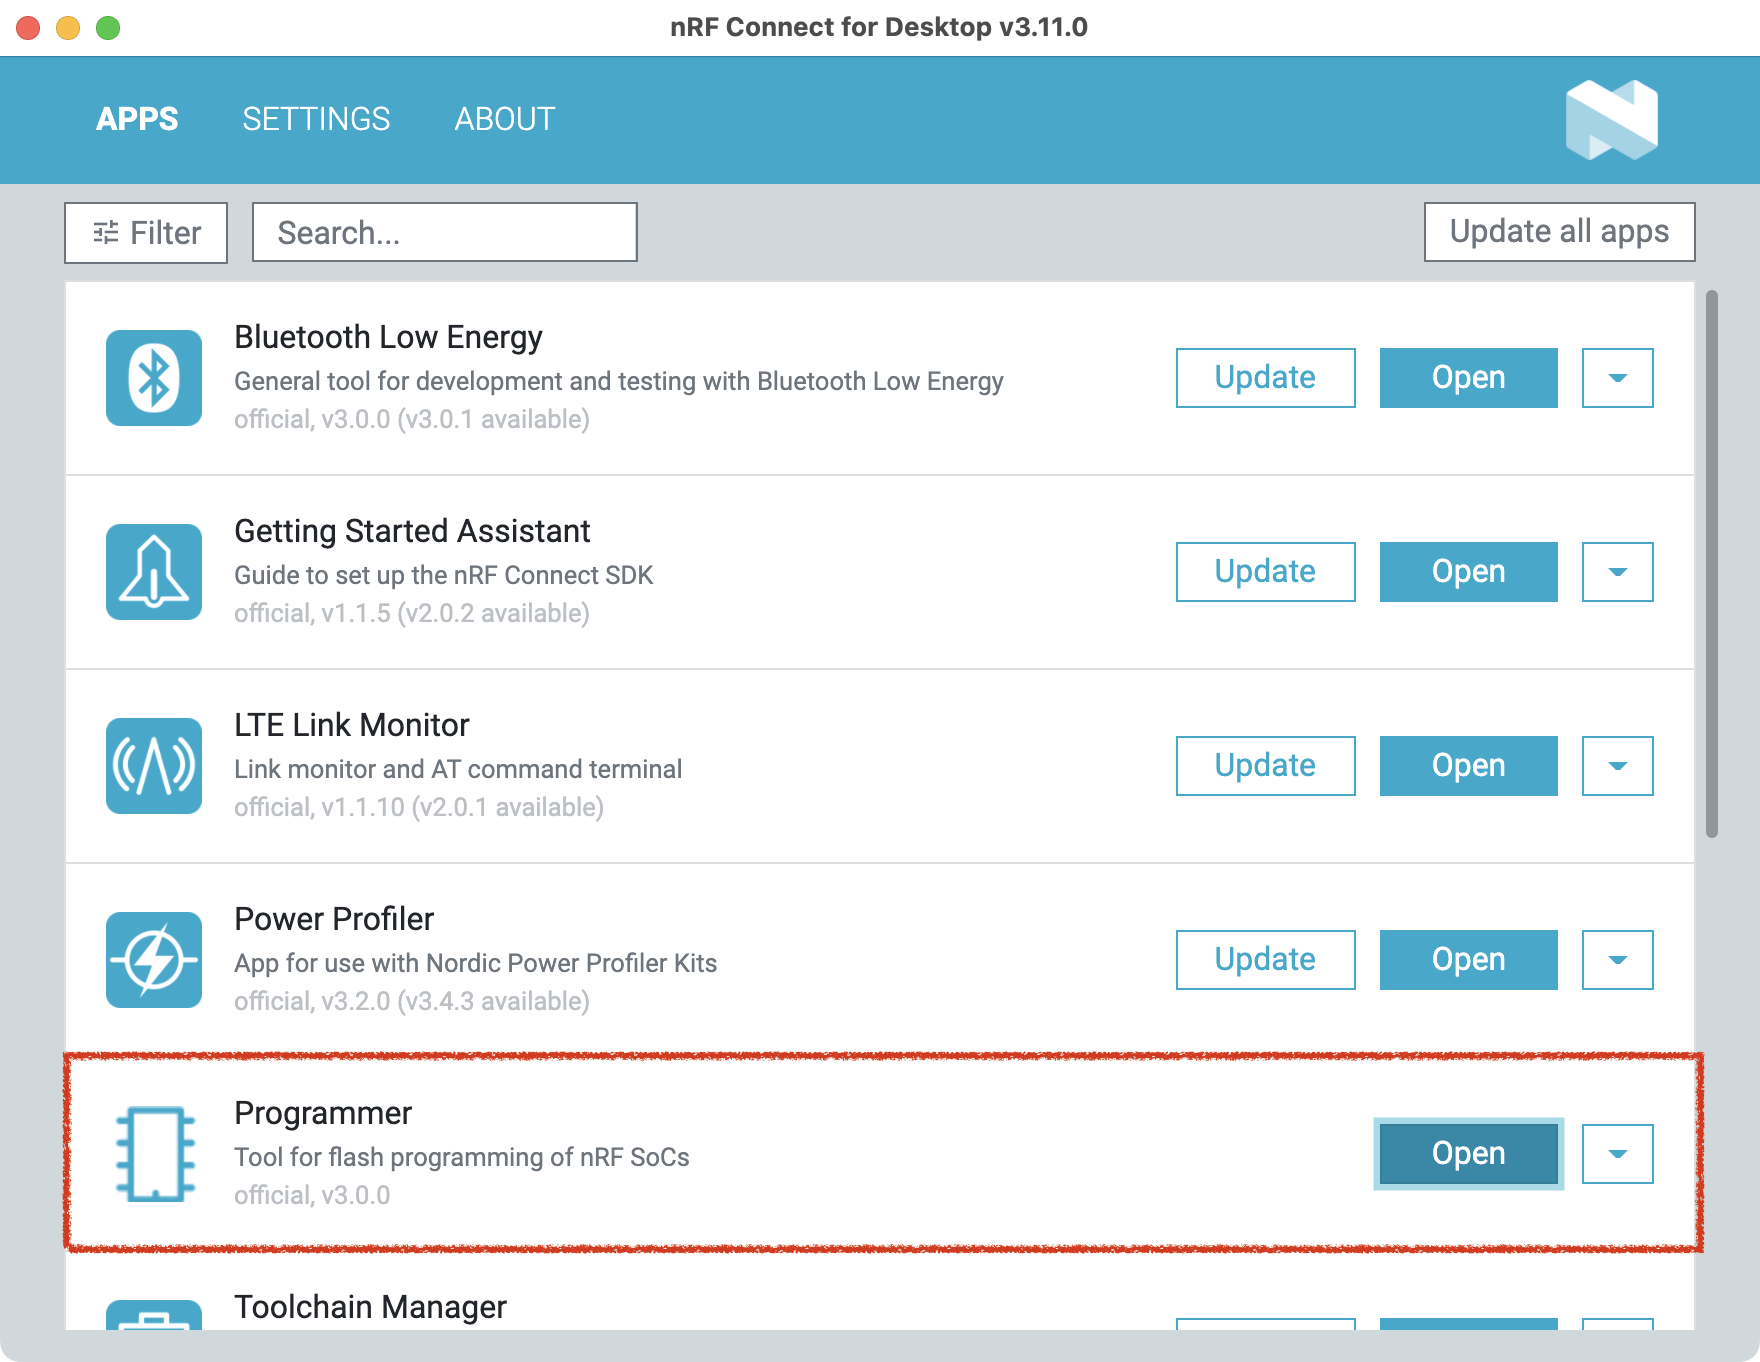
nRF Connect for Desktop main window, Programmer tool.
Click the “Select Device” button, and then select the nRF52840-Dongle, which will show up as “Open DFU Bootloader”.
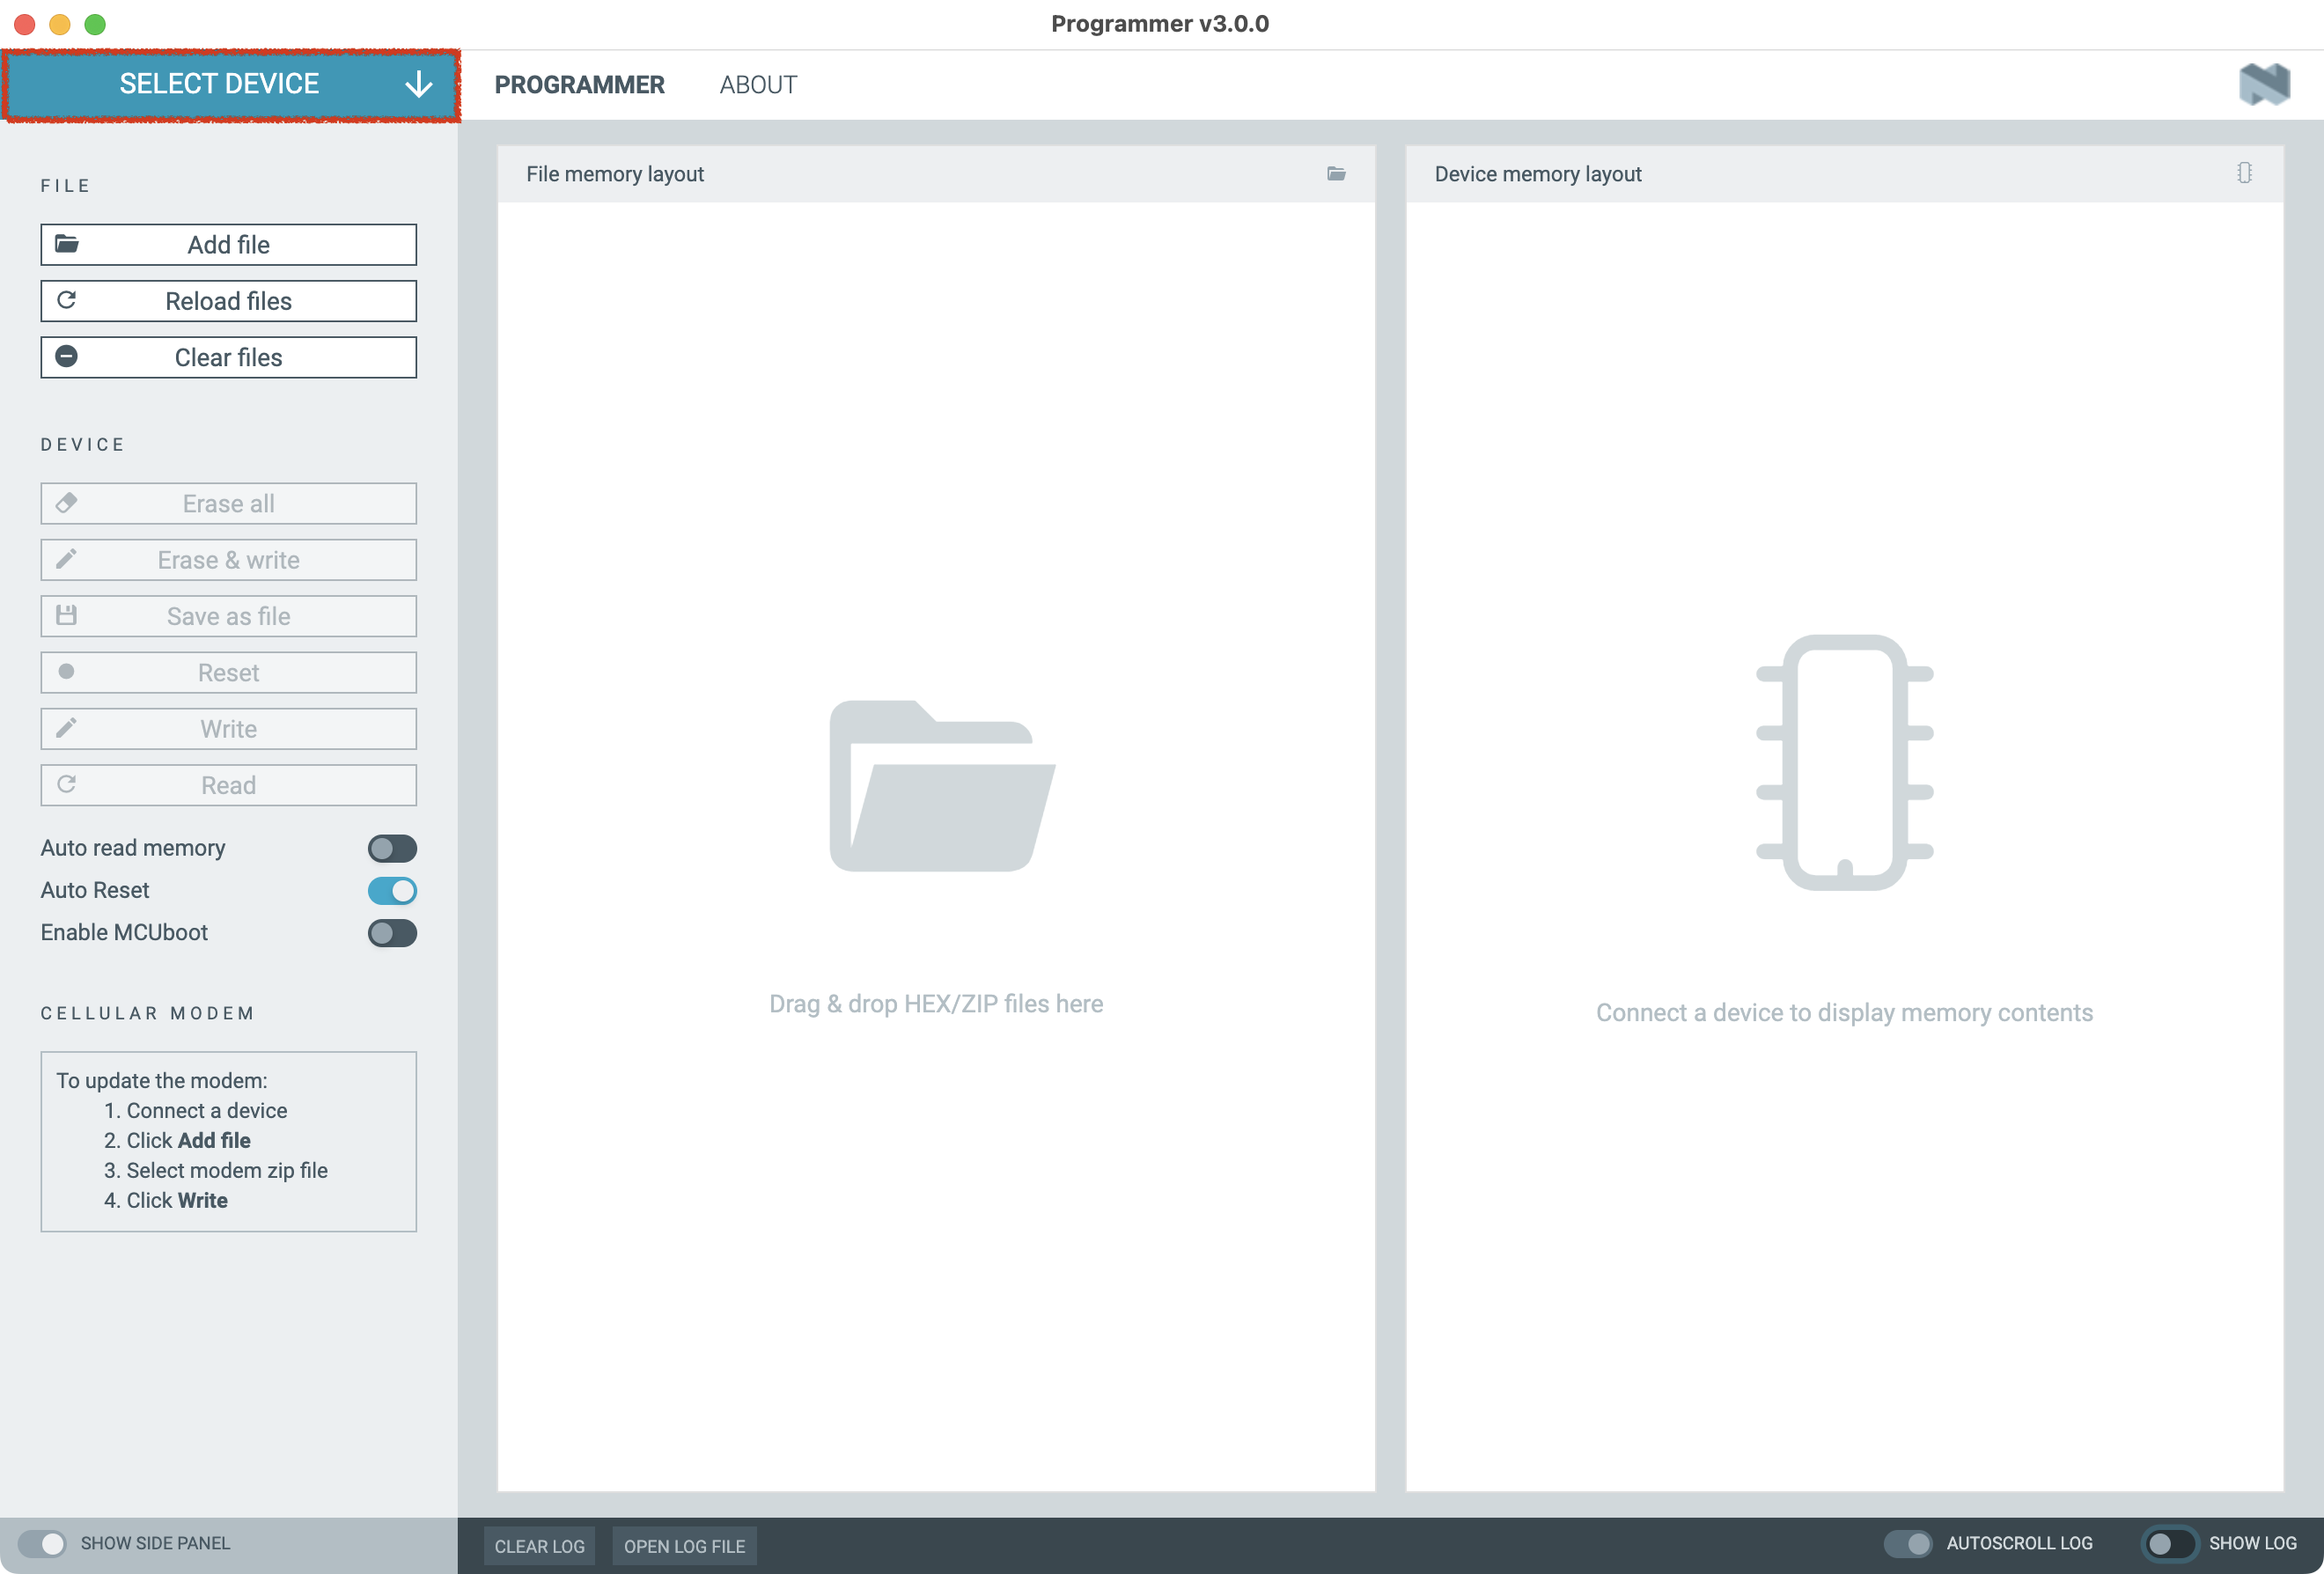
Click the Select Device Button
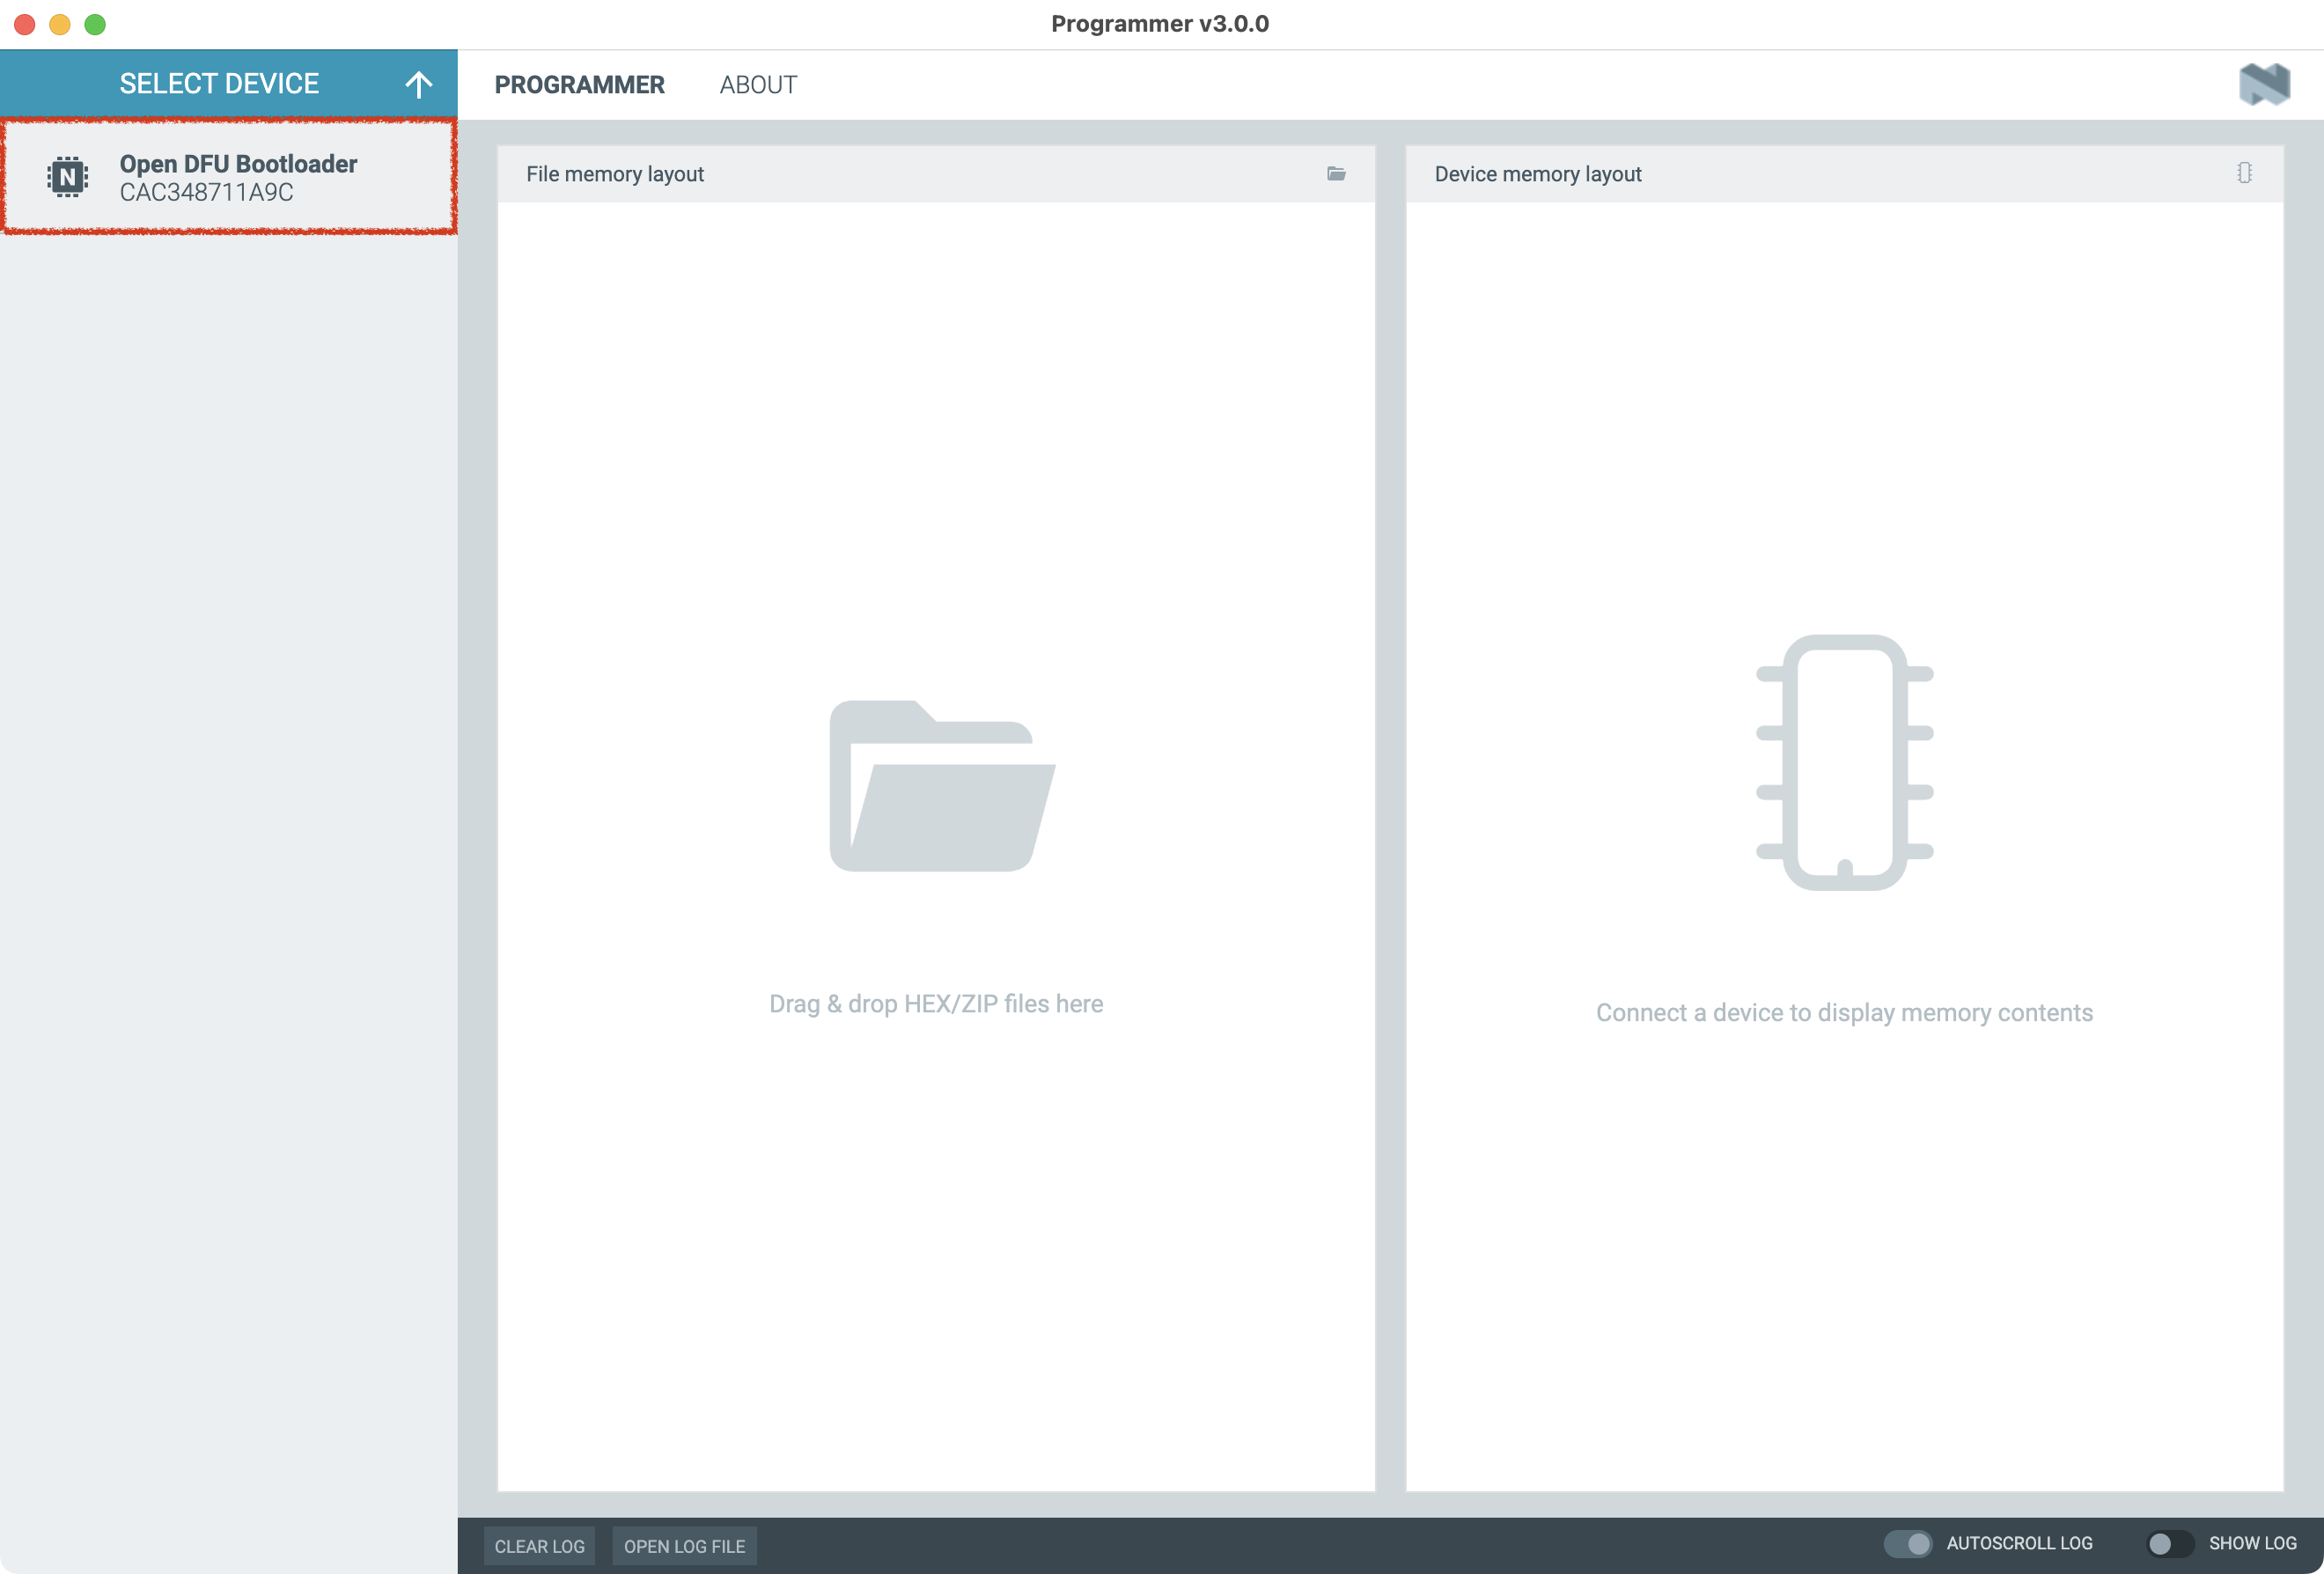
Click the “Open DFU Bootloader” device.
Now, either click the “Add File” button to browse for the hci_usb_h4-nrf52840dongle-3.5.0.hex file, or drag it to the Drag & Drop area.

With the hci_usb_h4-nrf52840dongle-3.5.0.hex file selected, you can now click the “Write” button to program the dongle.
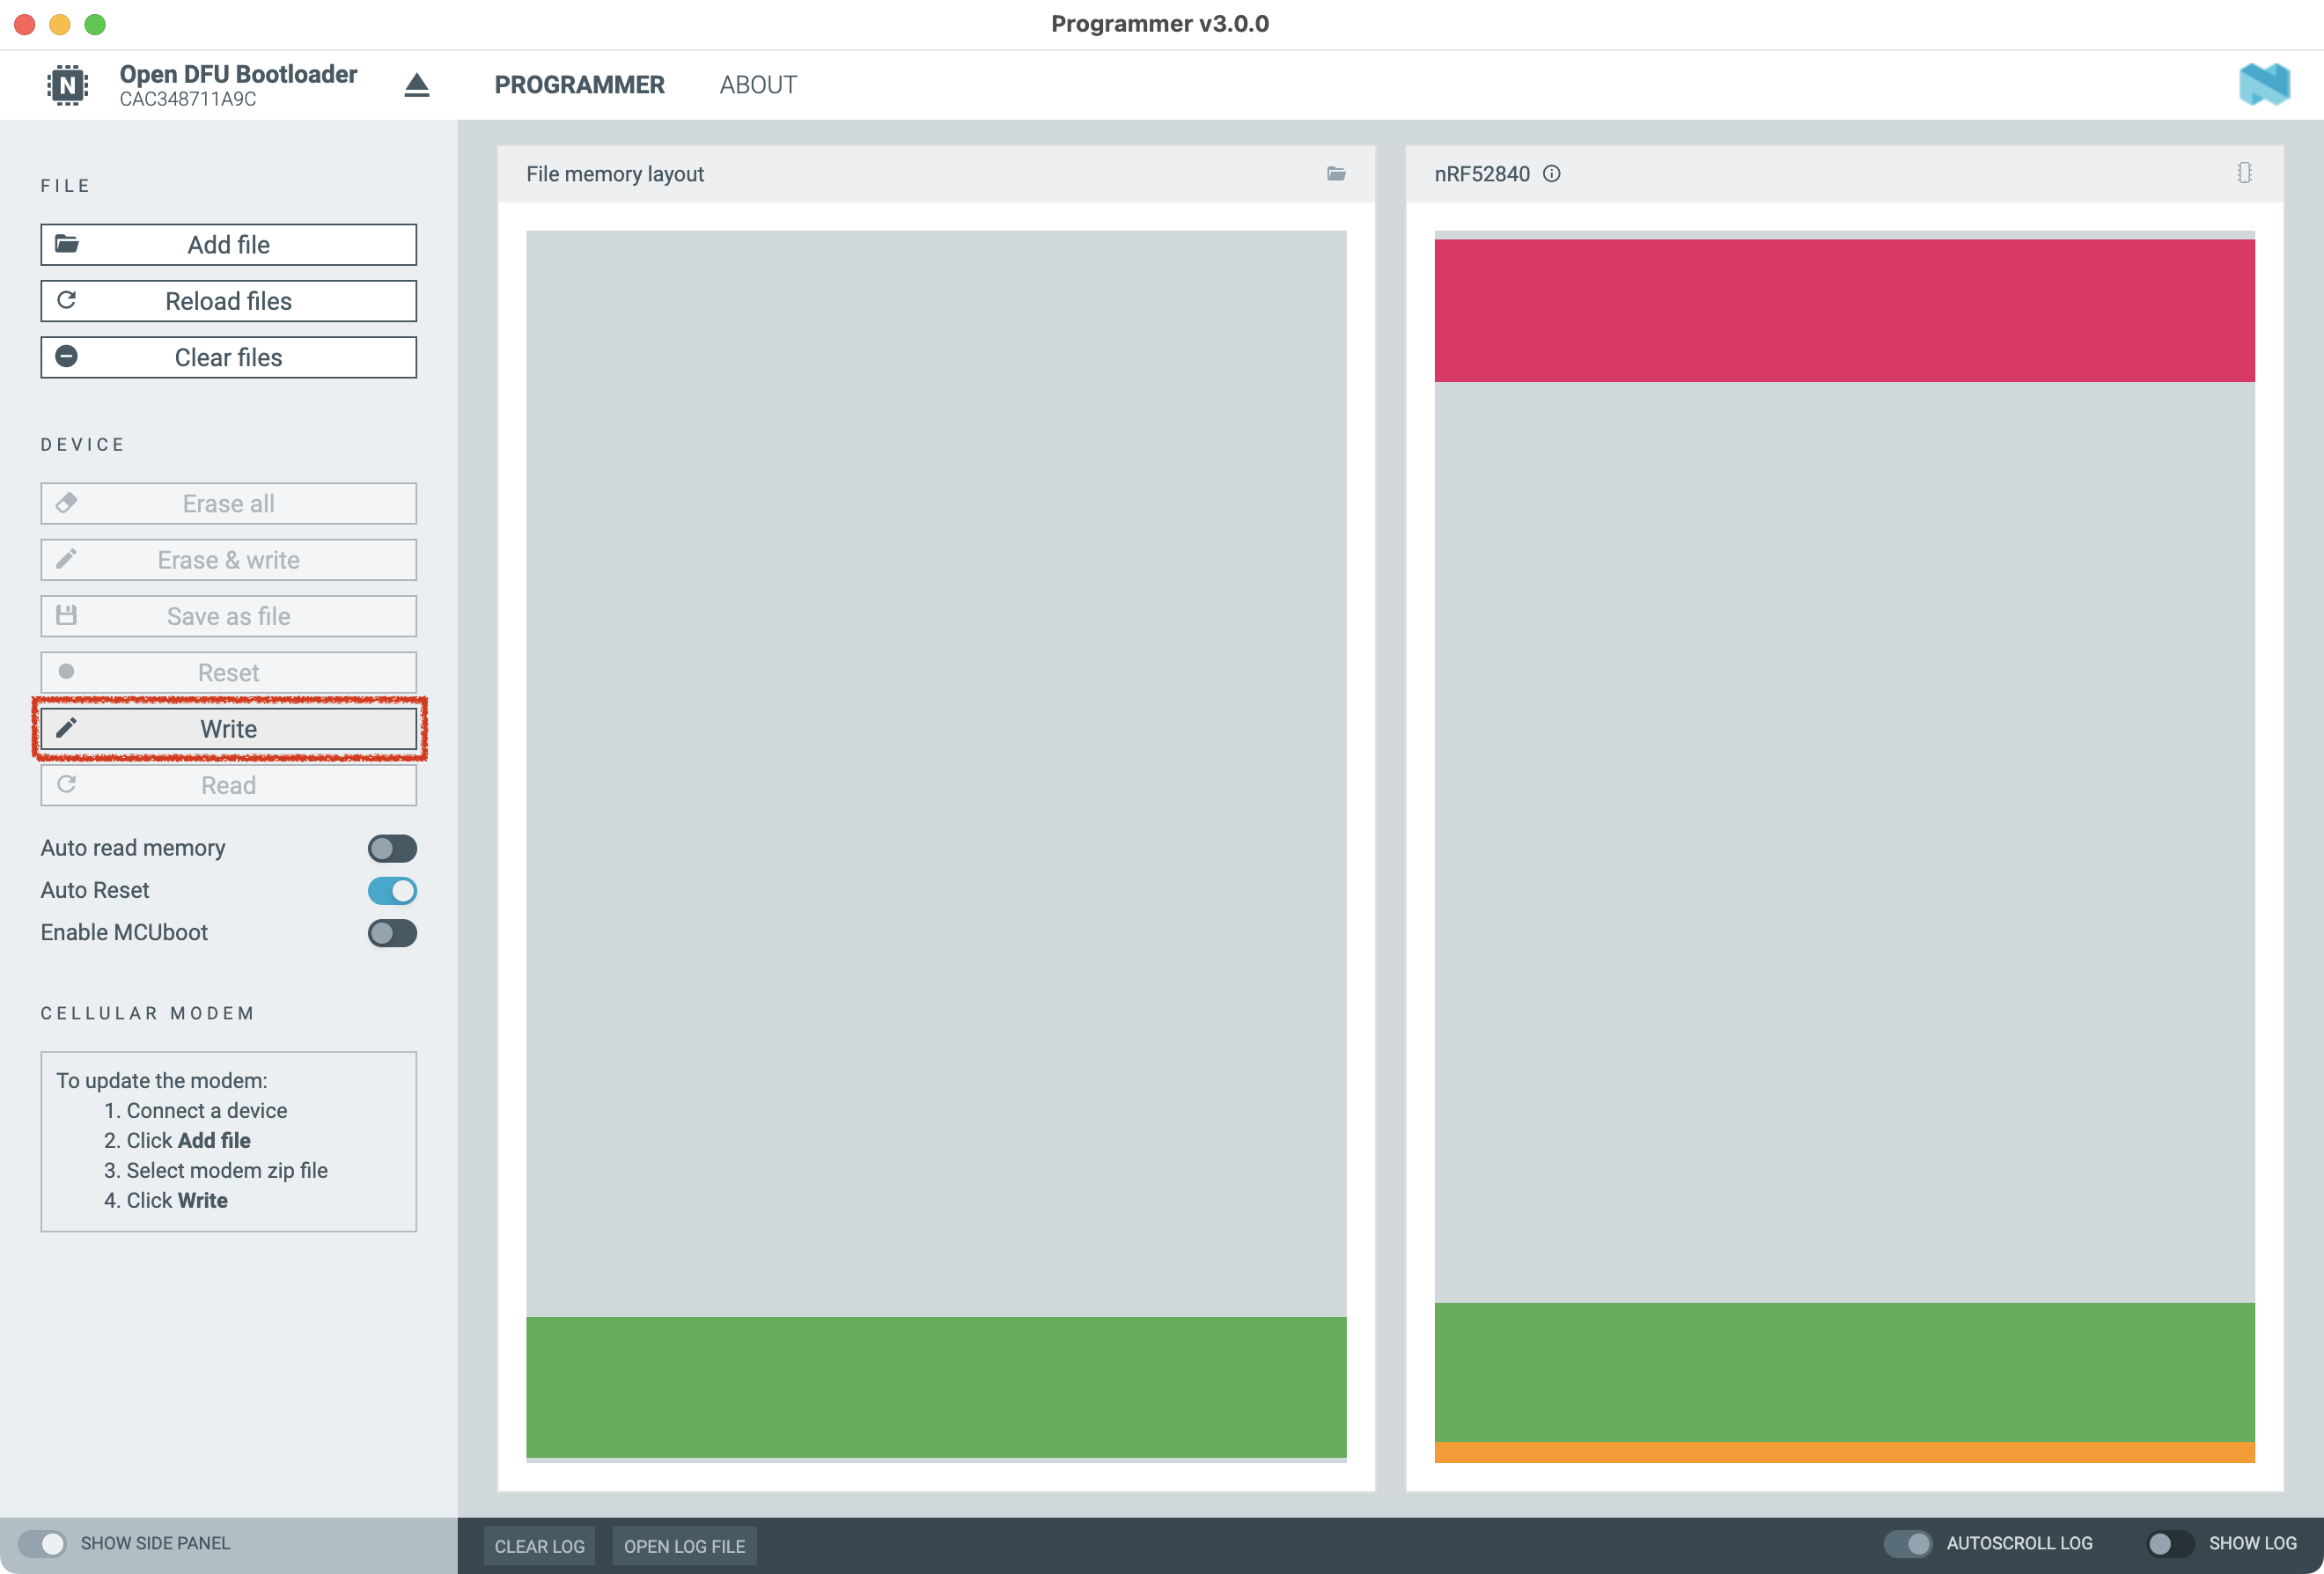
Click the “Write” button.
The LED on the dongle will blink more rapidly as it is programmed. When programming is complete, the device will disconnect from nRF Connect for Desktop. The LED will no longer blink after being programmed.
There may be an error message in nRF Connect for Desktop after the device disconnects, it can be ignored.
You can verify that the BLE firmware is running by looking for the USB device. Make sure that a device with PID/VID 0x000c/0x2fe3 is enumerating. On macOS, you can use the System Information tool:
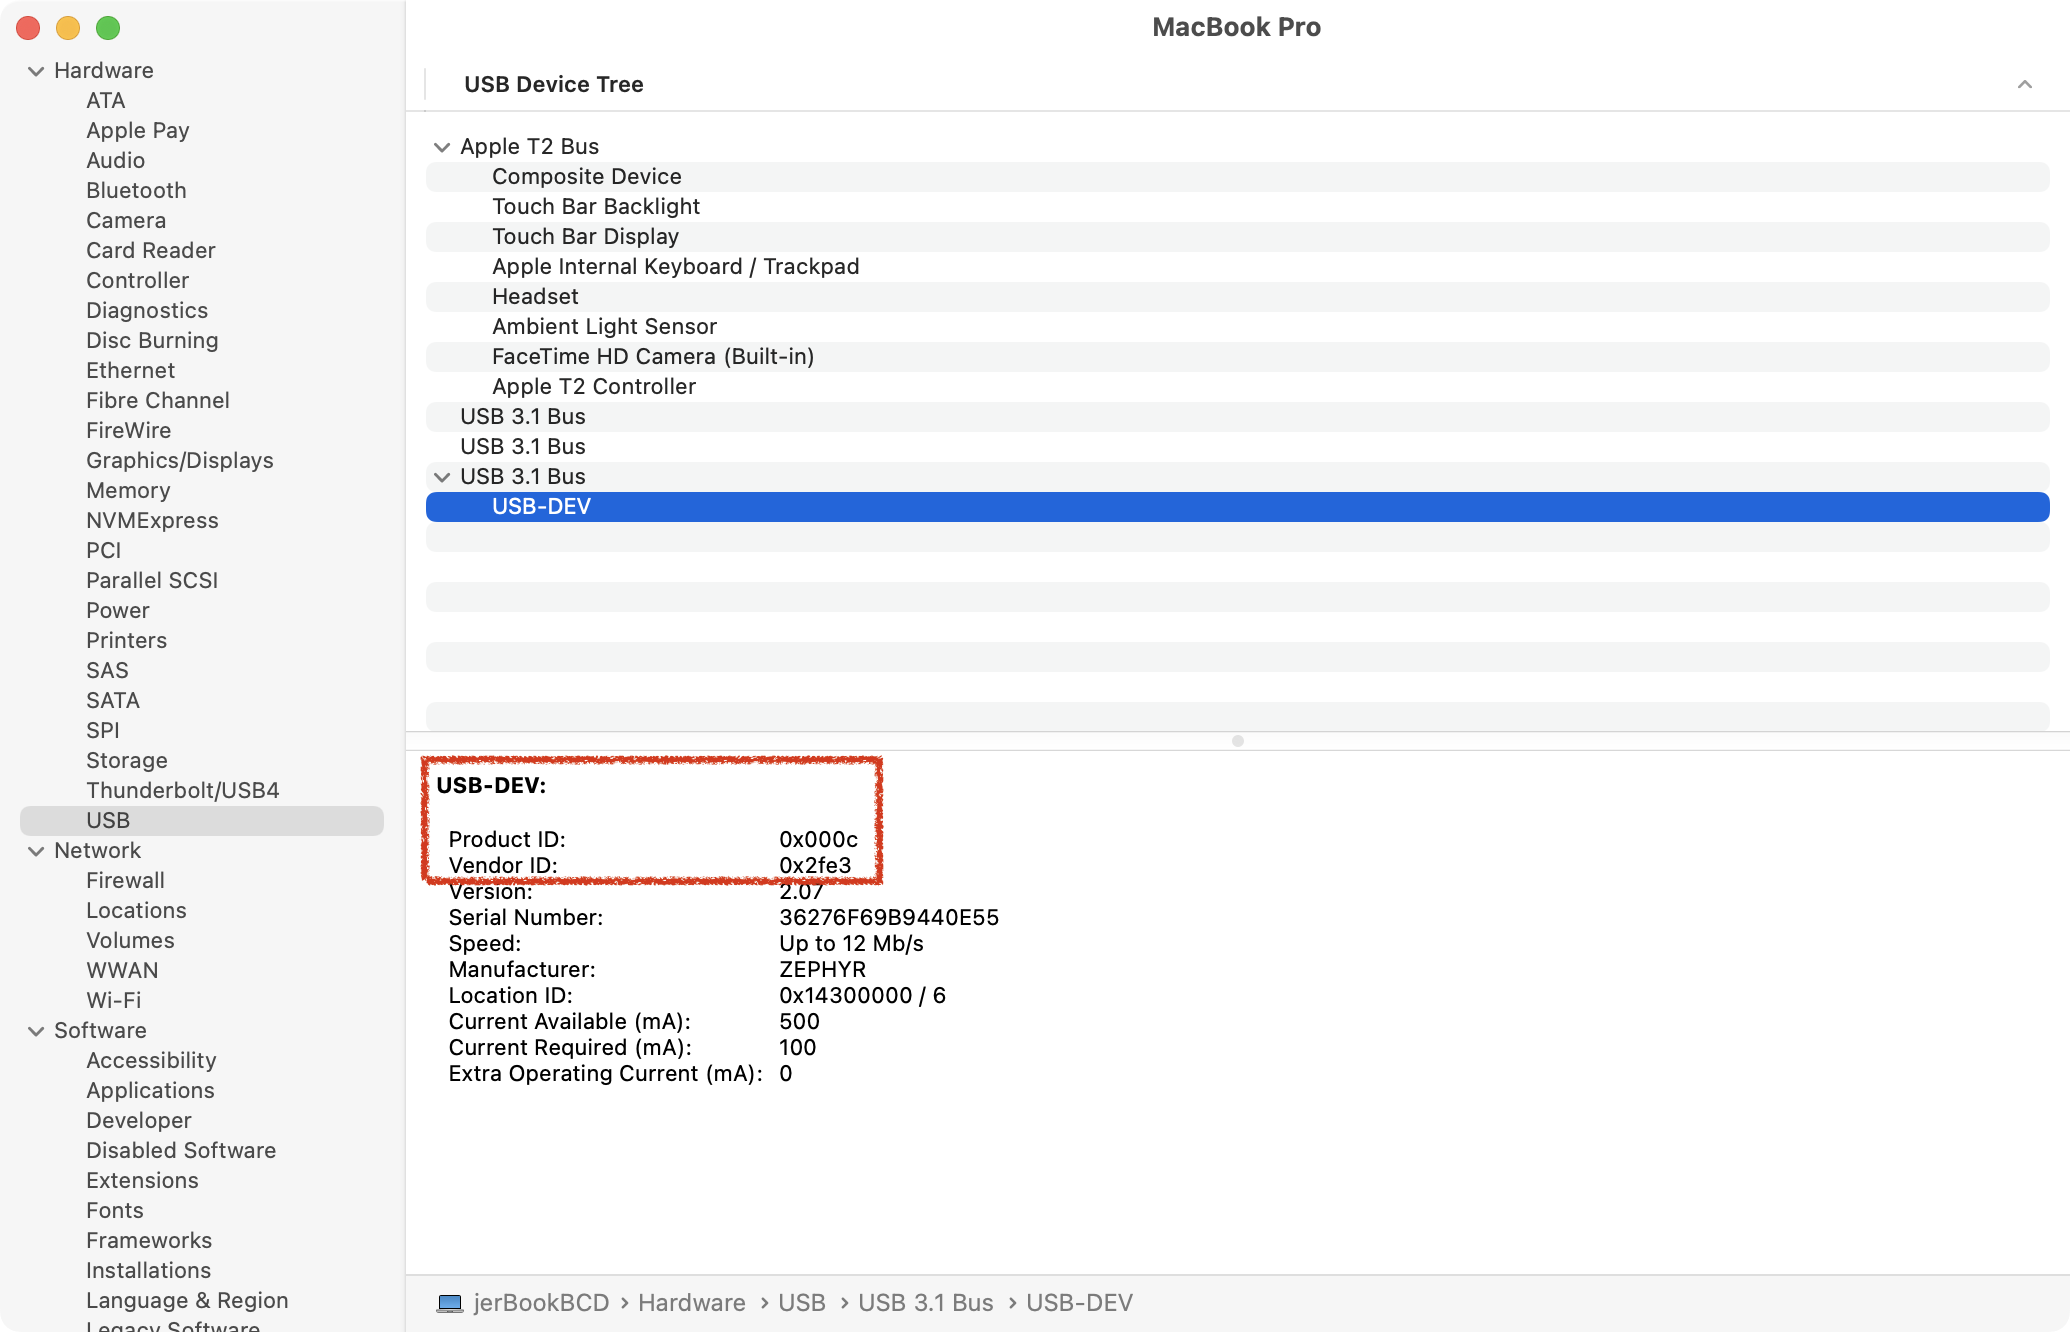
USB-DEV, with PID/VID 0x000c/0x2fe3.
Using nrfutil
Make sure nrfutil is installed before proceeding.
If you haven’t already, follow the directions above to put the nRF52840-Dongle into the factory-default bootloader.
Flash the DFU package onto the board.
nrfutil dfu usb-serial -pkg hci_usb_h4-nrf52840dongle-3.5.0-dfu.zip -p /dev/ttyACM0
$ nrfutil dfu usb-serial -pkg hci_usb_h4-nrf52840dongle-3.5.0-dfu.zip -p /dev/ttyACM0
[####################################]  100%
Device programmed.
$
When this command exits, observe the red LED used by the bootloader stops blinking.
Re-insert the nRF52840 Dongle, and check if the dongle enumerates as a HCI H4 over USB device.
$ lsusb
Bus 002 Device 001: ID 1d6b:0003 Linux Foundation 3.0 root hub
Bus 001 Device 003: ID 04f2:b685 Chicony Electronics Co., Ltd Chicony USB2.0 Camera
Bus 001 Device 004: ID 8087:0aaa Intel Corp.
Bus 001 Device 029: ID 2fe3:000c ZEPHYR USB-DEV
Bus 001 Device 001: ID 1d6b:0002 Linux Foundation 2.0 root hub
$
References