Releases
The Releases page shows the releases that have been created in a Project.
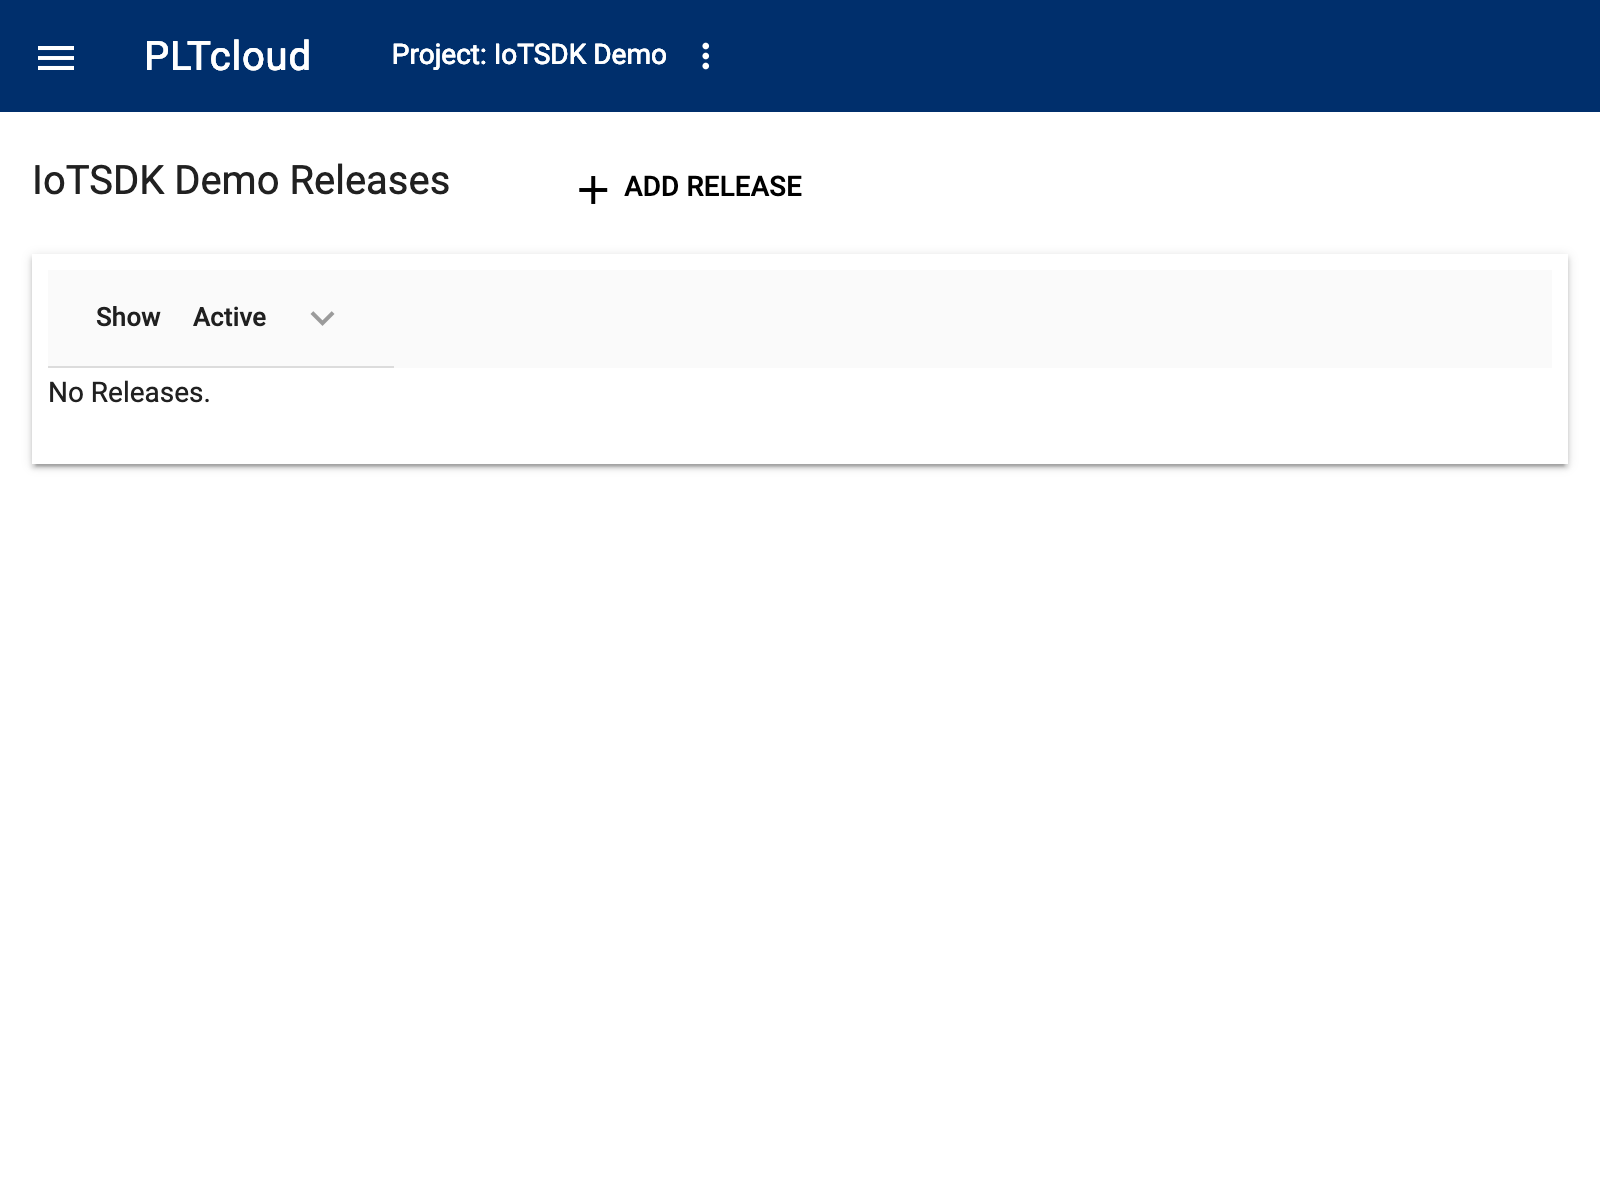
Release List (empty)
Files may be uploaded and managed directly from the release creation or editing page. Previously added files are also available for inclusion.
You can create multiple releases per project.
For example, to create a new release, you would fill the version and description of cases of your release, and select the files (firmware images and YAML files) you want to be part of your release.
View Active Releases
Click on the Release button on the left-hand menu. The Release List page will appear
View Archived Releases
On the :doc`File List <files>` page, click on the down carrot next to the “Show Active”
Click the drop-down menu that appears and select Archived
Click the Update button
Create a Release
Select Releases from the left-hand menu and then click Add Release.
Enter the version.
Optionally, add a description.
Check the boxes of the Files you want to add to this Release.
If needed, click Add Files to add a new File directly to the Release.
Click the Add button to save the Release.
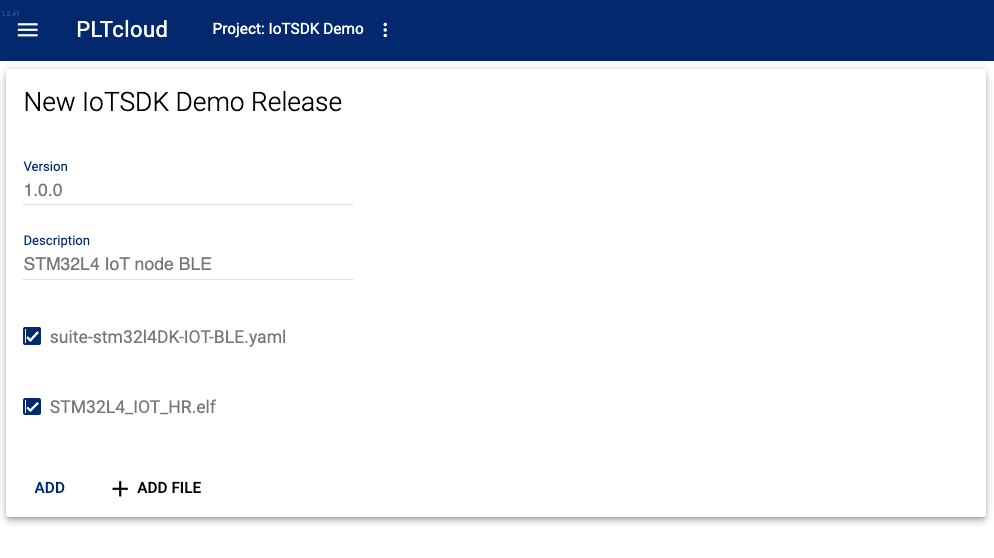
New Release
In this case, we need to create a release of
the firmware image (STM32L4_IOT_HR.elf)
and of the YAML file (suite-stm32l4DK-IOT-BLE.yaml)
for the “IoTSDK Demo” project.
These two files are therefore checked when creating the release that
we named “STM32L4 IoT node BLE”.
Release Details Page
Click on the Details (single block) icon. The Release Details will open.
The Release Details page has the following information:
Version - The name of the version
Description - An optional description of the release
Active - The status of the release. The options are Active or Archived. Only Active Releases are deployable. Archived Release must be restored before they can be deployed
Files - The files included the release
Deployment Groups - All the deployment groups that the release has deployed to.
Deploy a Release
Option 1: Deploying the current release:
On the Deployment Groups page, click the Deploy button
Click the Deploy button
Click the Dismiss button
Option 2: Deploying a new release
On the Release List page, click the Deploy button
From the listboxes, select the Release and the Deployment Group
Click the Select button
Click the Deploy button to confirm the deployment
Click the Dismiss button. The Deployment Group Details page will appear
Option 3: Deploy a specific new release
Click the Release icon (Down arrow)
From the listboxes select the Deployment Group, Click the Select button
Click the Deploy button to confirm the deployment
Click the Dismiss button. The Deployment Groups page will appear.

From the main release section, you can click on the deployment icon next to the release you want to deploy to be able to update the PLTs part of that deployment group with this release. Here, it has been deployed to the “DEV” deployment group.
The Release is now staged for download.
On the PLT, press the #4 (Main Menu) button and then scroll to Check for Updates.
Press the #3 (Enter) button
The PLT will recognize the staged Release and display “Update Available”.
Click the #2 (Update) button. The new deployment will download, and the PLT will restart.
Note
If the PLT does not find the new Release, it will display “No Update Available”. If that happens, review the deployment process to confirm it was correct.
Archive a Release
Option 1:
Click the Archive (box down arrow) icon on the Release List page
Click the Archive button to confirm
Click the Dismiss button. The Release Details page will reappear, but now the Active field will show “Archived”
Option 2:
On the Release Detail page, click the Archive icon (box down arrow)
Click the Archive button to confirm
Click the Dismiss button. The Release Details page will reappear, but now the Active field will show “Archived”
Restore an Archived Release
View the archived releases:
Click the Restore (trashcan) icon on the Release List page or the Restore button on the Release Detail page
Click the Restore button
Click the Dismiss button. The Release Details page will appear, but now the Active field will show “Active”